Setting up the Giroptic 360º VR camera on Youtube Live 360 through a macOS NGINX Server

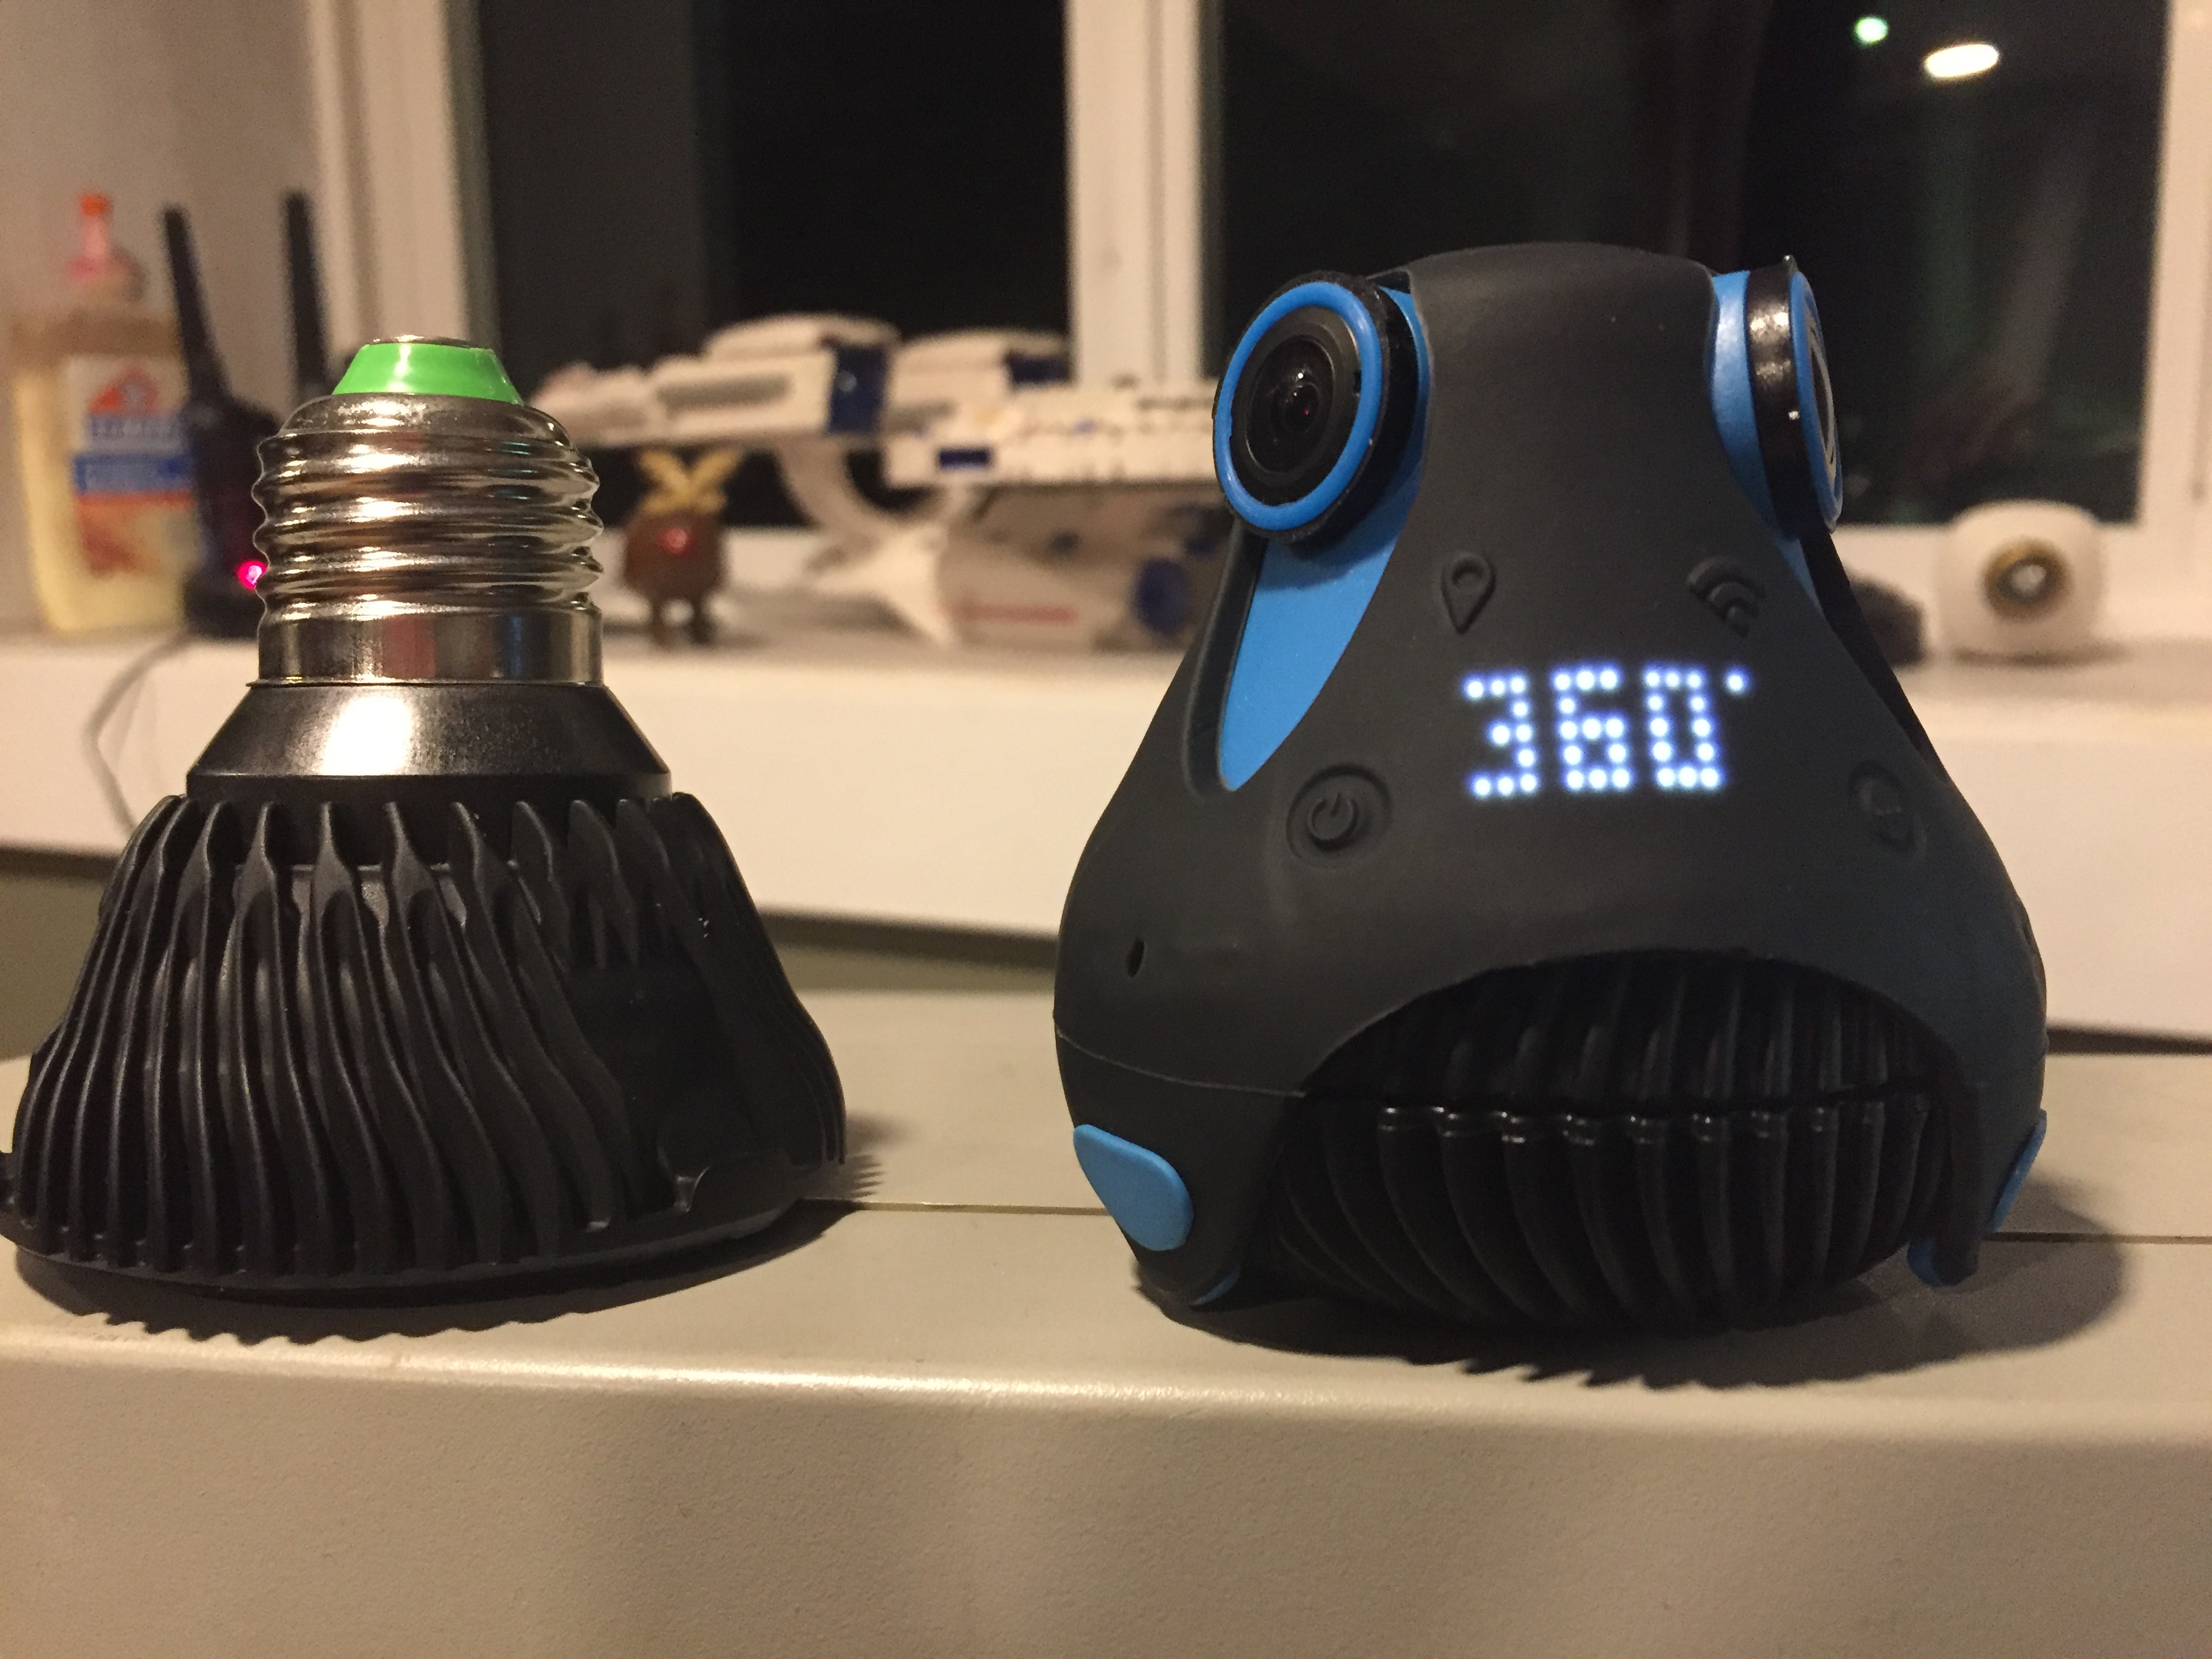
Yesterday I received a fantastic little device in the mail. A brand new Giroptic 360º Camera from 360.tv along with one its accessories, a lightbulb adapter which replaces the base (and battery) of the camera and enables Live WIFI 360º VR streaming. Ingenious.
Addition: A week later I received the Power of Ethernet Video Streaming adapter for the Giroptic. It required no changes to the already setup configuration below to work. Just swapped the lightbulb bottom for the ethernet bottom, plugged in a POE injector, fired up Youtube and NGINX, and now I have a 5Mbps 720p quality stream! Great stuff!
And here is the end product (for now, the video is low quality right now… I intend to change that!)
The goal here is to use this camera as a weather webcam right here on Alberniweather. It is supposedly weather proof so I will be mounting it outside, preferably on the roof of my home, to provide a 360º Panoramic view of the beautiful Alberni Valley for both weather (here at Alberniweather) and wonder purposes. 🙂 Just imagine it streaming live video and audio in the midst of a big winter storm! AWESOME!
I wasn’t able to find any instructions on how to get it going with Youtube’s Live 360º Streaming service so I have created this tutorial for others who are receiving these new gadgets around the world and might want to do the same. Have fun!
Before you Begin
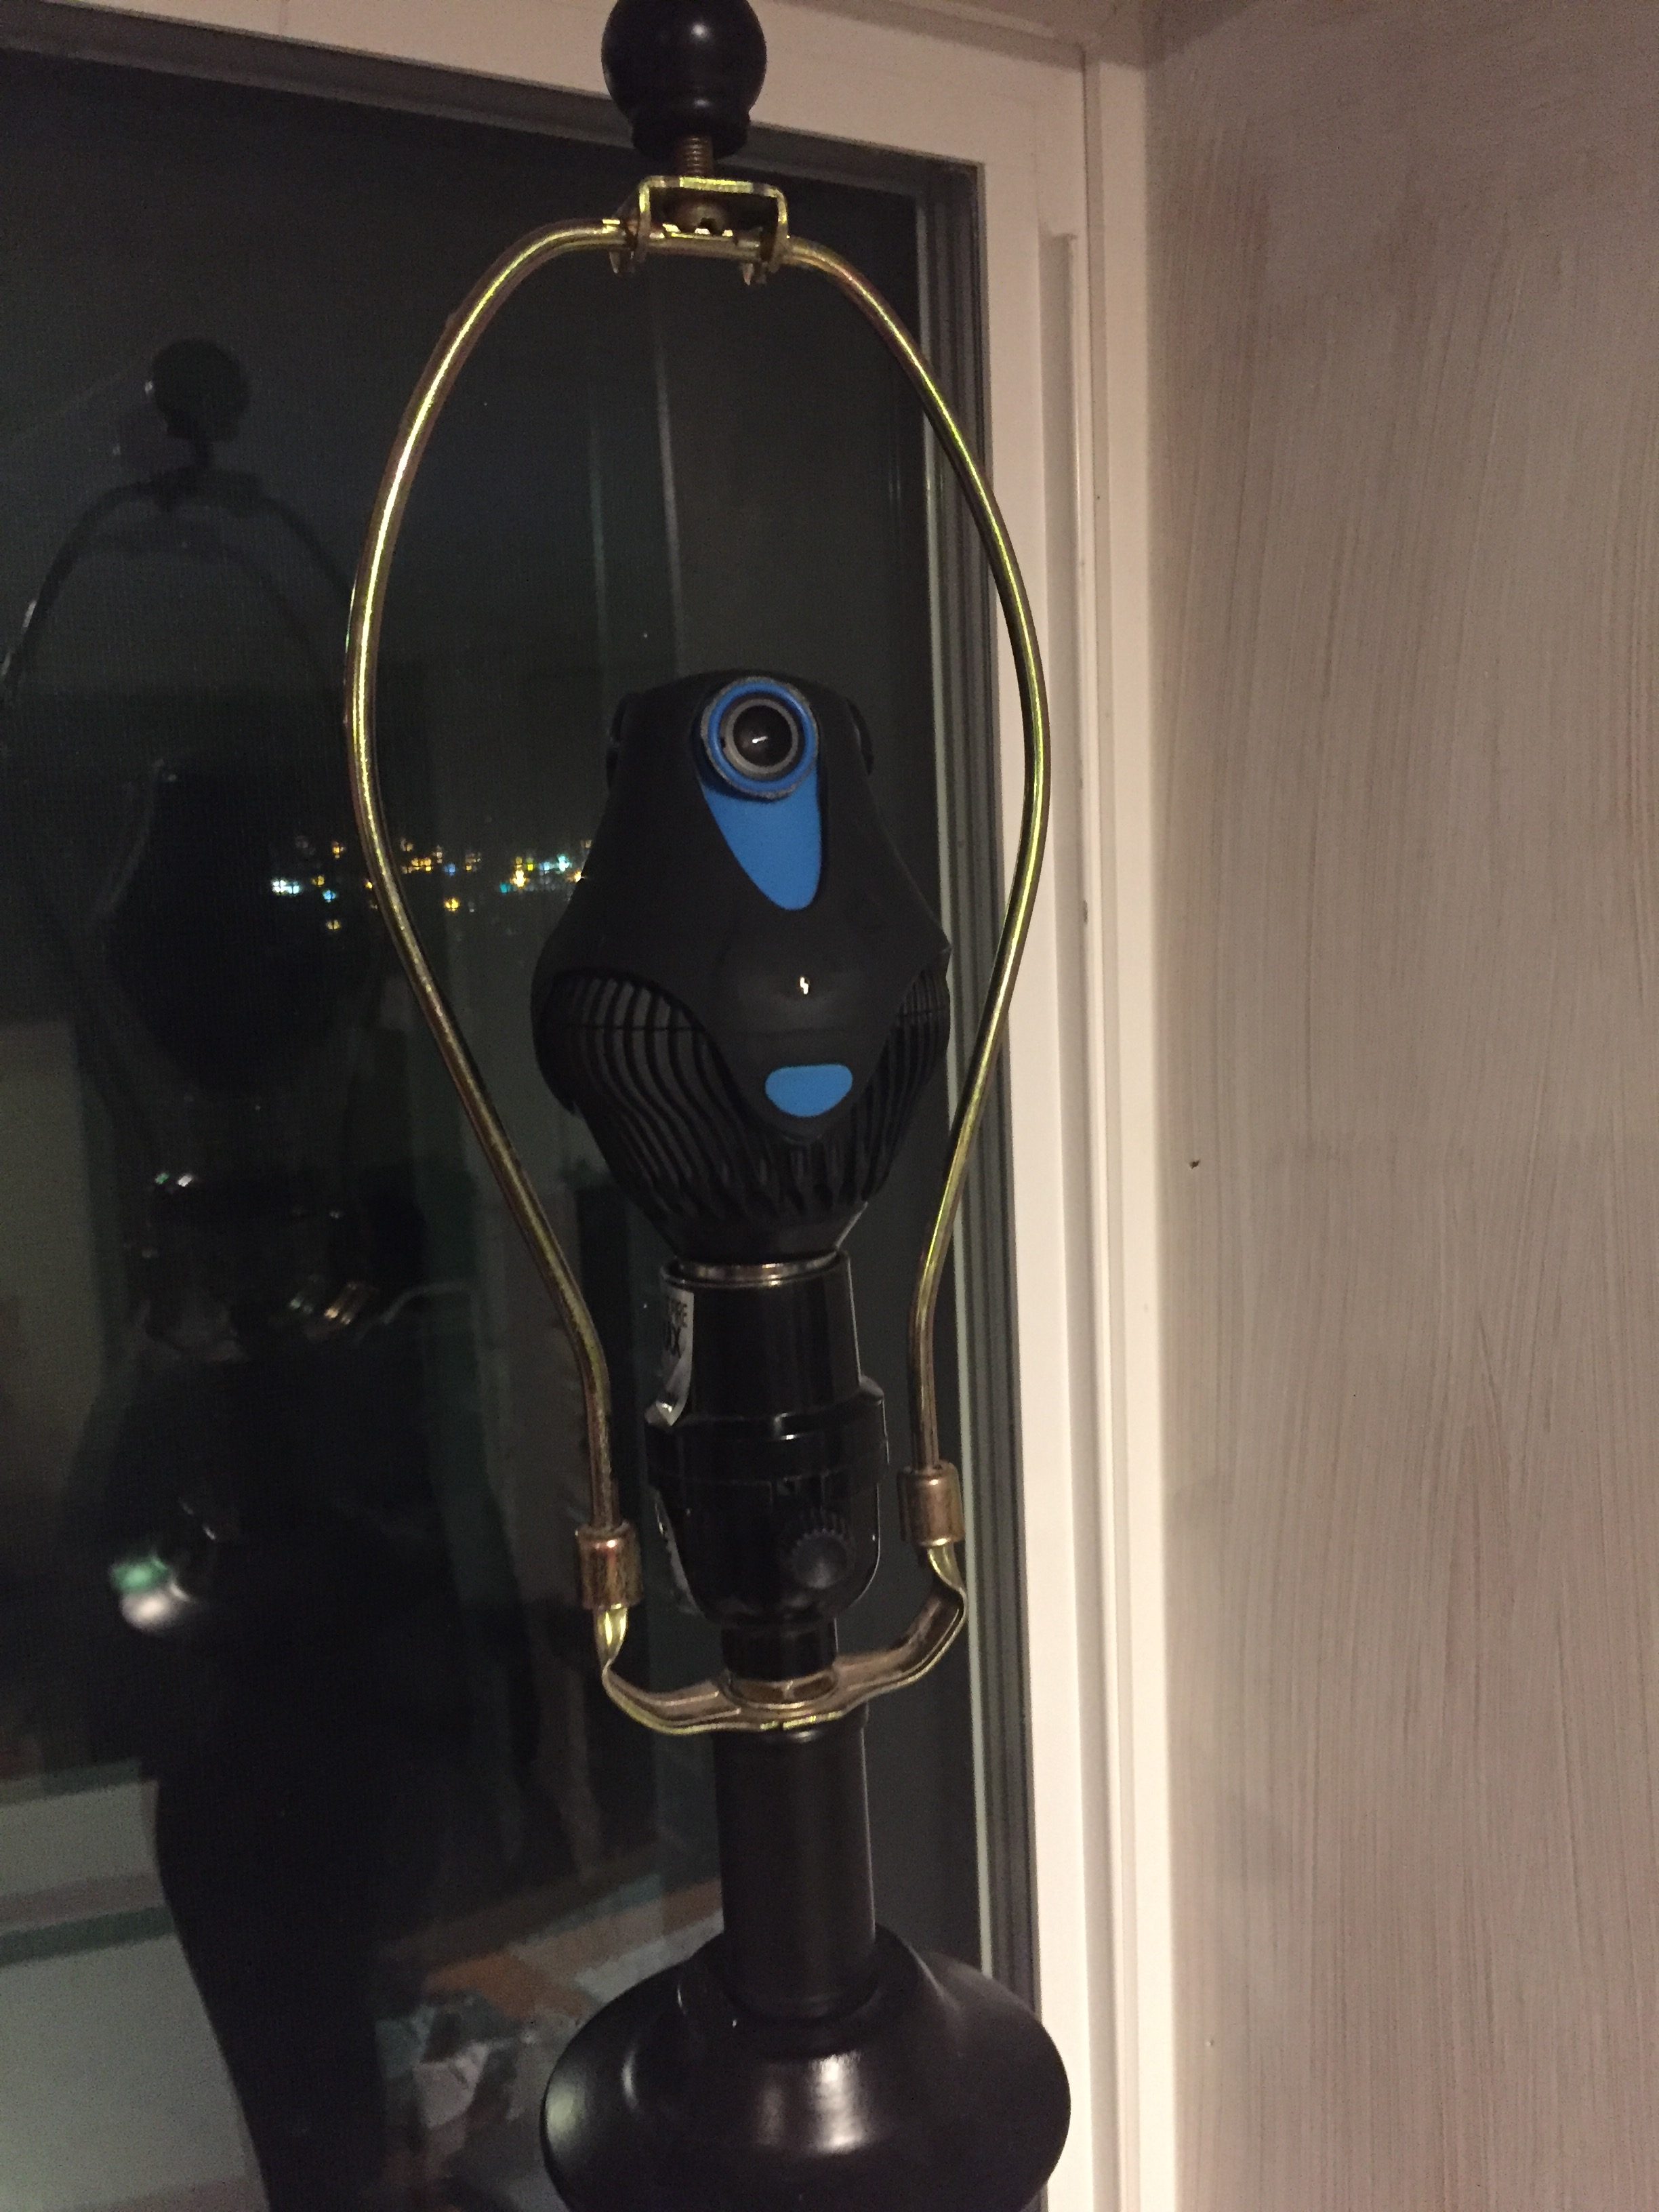
It is a good idea to have a desk lamp or something similar in an easy place for you to plug and un-plug the Giroptic.
You should also have a Mac, Windows, or Linux computer ready to install NGINX onto.
Setting up the Default Live Camera Operation
Giroptic provides instructions out of the box to set up your Lightbulb adapter in the default way.
- First set the camera and lightbulb adapter up according to the Giroptics instructions. This will ensure that it is properly connected to your WIFI network and that the stream is working as expected.
- When you are done, make sure you see and can connect to the streams in the mobile App on both the Cloud and the “LAN”.

- Double Check that the LAN connection works. This is the connection we will end up using for our YouTube stream so it is important. 🙂
Prepare the Camera for Local Streaming
The Giroptic support site mentions using the Wowza platform for streaming from the Ethernet adapter. When I realized that Wowza uses NGINX then I thought, hey… if it could connect to Wowza, it can probably connect to any NGINX server. So I used the settings from those instructions to get started.
- Plug your Giroptic’s SD Card into your computer.
- Create a Text File called stream.txt with your server parameters.
- The Giroptic needs to know where to send your live stream. This effectively replaces the Cloud service. You need to know:
The Server IP Address (eg. 192.168.1.###)
The NGINX Port (usually 1935)
The NGINX App name (eg. live) - All the parameters are in one line of the text file and look like this:

- Copy the stream.txt file to the MISC folder on the camera SD Card.

Your Giroptic Camera is now ready to stream to Youtube!(But YOU still have more more work to do 🙂 )NOTE: There do not appear at this time to be any way to alter the settings of the stream itself that is coming from the Giroptic Camera. For example, increasing the bit rates of the video and/or audio so that they are of higher quality. I do hope that this ability is hidden within the camera so that we can get a much higher quality experience in future that shows off the impressive fidelity of the actual camera hardware.
Setting up NGINX
- I setup NGINX using macports on OS X El Capitan (10.11.6). You can run NGINX on pretty much any computer, from a full desktop to a Raspberry. There are instructions for Linux here and for HomeBrew on MacOS X here (note: macports and homebrew don’t coexist well so try to use one or the other.)
- In MacPorts you can see the variants (modules) for NGINX by issuing this command:
sudo port variants nginx
At the very least you must have the rtmp module installed but it is not a heavy server so having multiple modules will not degrade it much.
- Here is the port install command I used to install NGINX
sudo port install nginx +mp4 +stream +flv +rtmp
- I would recommend *not* installing the startup item in MacOS X so that it does not try to restart the server every time you are testing something.
- You can check your configuration to make sure it has installed by running the command below:
sudo nginx -V
- You now need to configure nginx in /opt/local/etc/nginx/nginx.conf by default in MacOS X.
- I have included my entire config file. Modifications from the default are in red.I have set my log files to go to /var/log and my pid to /tmpMost importantly I have created an “RTMP” section at the end of the file.
#user nobody;
worker_processes 1;

error_log /var/log/nginx/error.log debug;
#error_log logs/error.log notice;
#error_log logs/error.log info;

pid /tmp/nginx.pid;


events {
 worker_connections 1024;
}


http {
 include mime.types;
 default_type application/octet-stream;

 log_format main '$remote_addr - $remote_user [$time_local] "$request" '
 '$status $body_bytes_sent "$http_referer" '
 '"$http_user_agent" "$http_x_forwarded_for"';

 access_log /var/log/nginx/access.log main;

 sendfile on;
 #tcp_nopush on;

 #keepalive_timeout 0;
 keepalive_timeout 65;

 #gzip on;

 server {
 listen 8080;
 server_name localhost;

 #charset koi8-r;

 access_log /var/log/nginx/host.access.log main;

 location / {
 root share/nginx/html;
 index index.html index.htm;
 }

 location /control {
 rtmp_control all;
 }

 #error_page 404 /404.html;

 # redirect server error pages to the static page /50x.html
 #
 error_page 500 502 503 504 /50x.html;
 location = /50x.html {
 root share/nginx/html;
 }

 # proxy the PHP scripts to Apache listening on 127.0.0.1:80
 #
 #location ~ \.php$ {
 # proxy_pass http://127.0.0.1;
 #}

 # pass the PHP scripts to FastCGI server listening on 127.0.0.1:9000
 #
 #location ~ \.php$ {
 # root share/nginx/html;
 # fastcgi_pass 127.0.0.1:9000;
 # fastcgi_index index.php;
 # include fastcgi.conf;
 #}

 # deny access to .htaccess files, if Apache's document root
 # concurs with nginx's one
 #
 #location ~ /\.ht {
 # deny all;
 #}
 }

# another virtual host using mix of IP-, name-, and port-based configuration
 #
 #server {
 # listen 8000;
 # listen somename:8080;
 # server_name somename alias another.alias;

 # location / {
 # root share/nginx/html;
 # index index.html index.htm;
 # }
 #}


 # HTTPS server
 #
 #server {
 # listen 443 ssl;
 # server_name localhost;

 # ssl_certificate cert.pem;
 # ssl_certificate_key cert.key;

 # ssl_session_cache shared:SSL:1m;
 # ssl_session_timeout 5m;

 # ssl_ciphers HIGH:!aNULL:!MD5;
 # ssl_prefer_server_ciphers on;

 # location / {
 # root share/nginx/html;
 # index index.html index.htm;
 # }
 #}

}

rtmp {
 server {
 listen 1935;
 chunk_size 4096;

 application live {

 live on;
 push rtmp://a.rtmp.youtube.com app=live2 playpath=get-this-from-youtube;
 }

 }

}
- The rtmp section above is the most critical to get the streaming server up and running. Don’t forget your semi-colons! 🙂
- Make sure you know where the logs are being saved and that the config is proper you can test it with:
nginx -t
- We will be filling in the ‘push’ command at the end of the rtmp section with a play path from your own youtube account at the end of this procedure. All of the play path codes are unique to your server so you should not publish it unless you want other people streaming to YOUR Youtube feed!
Create the Youtube Live 360º enabled Event
- Now that NGINX should be all good to go we need to make sure Youtube is ready too. Go to your youtube account and find the Live Streaming area under the “Upload” link or in Creator Studio.
 DO NOT use “Stream Now”. It does not support 360º viewing. However you can use it to just stream the video as a flat wide video. If you choose to do so, it is very straightforward and you can adapt the steps below accordingly.
 - Click “Events” and then “Schedule New Event”. You will see a standard Youtube video interface to fill in MAKE SURE CUSTOM is selected under TYPE.

- Under Advanced you can fill out the options as needed. One option Must be checked for 360º viewing. It is on the bottom right:
“This live stream is 360°”
- Once all the options, title and descriptions are set you can go ahead and click ‘Create Event’.
- In the next screen you will see an option for a Custom Ingestion. Make sure it is selected and then create a new stream.

- Fill in the information for the Stream from the Giroptic/NGINX. You should use the 500kbs-2000kbps setting. The Giroptic and NGINX will be sending a 500kbps stream which is pretty minimal but hopefully Giroptic will allow that to be boosted at a later date. If they do, we could potentially use NGINX to take a higher quality stream and create multiple streams tailored for different bandwidth devices.

- Save Changes and then Select your new Stream in the drop down.
- Select “Other Encoders” in the Encoder drop down menu.

- You should now see the configuration that we have already used in NGINX

- Take the code that is in the “Stream Name” field (I have blanked mine out) and insert it into the rtmp “play path” variable in your nginx.conf file. The Primary Server URL should match your rtmp address and app name. Notice the ‘live2’ portion is separate in the .conf file.
push rtmp://a.rtmp.youtube.com app=live2 playpath=abcd-1efg-hi23-j4kl; - As Youtube says in the configuration, now that you have set up your encoder we can start it up. So lets leave our Youtube window as is for now and do that below….
Starting The Setup
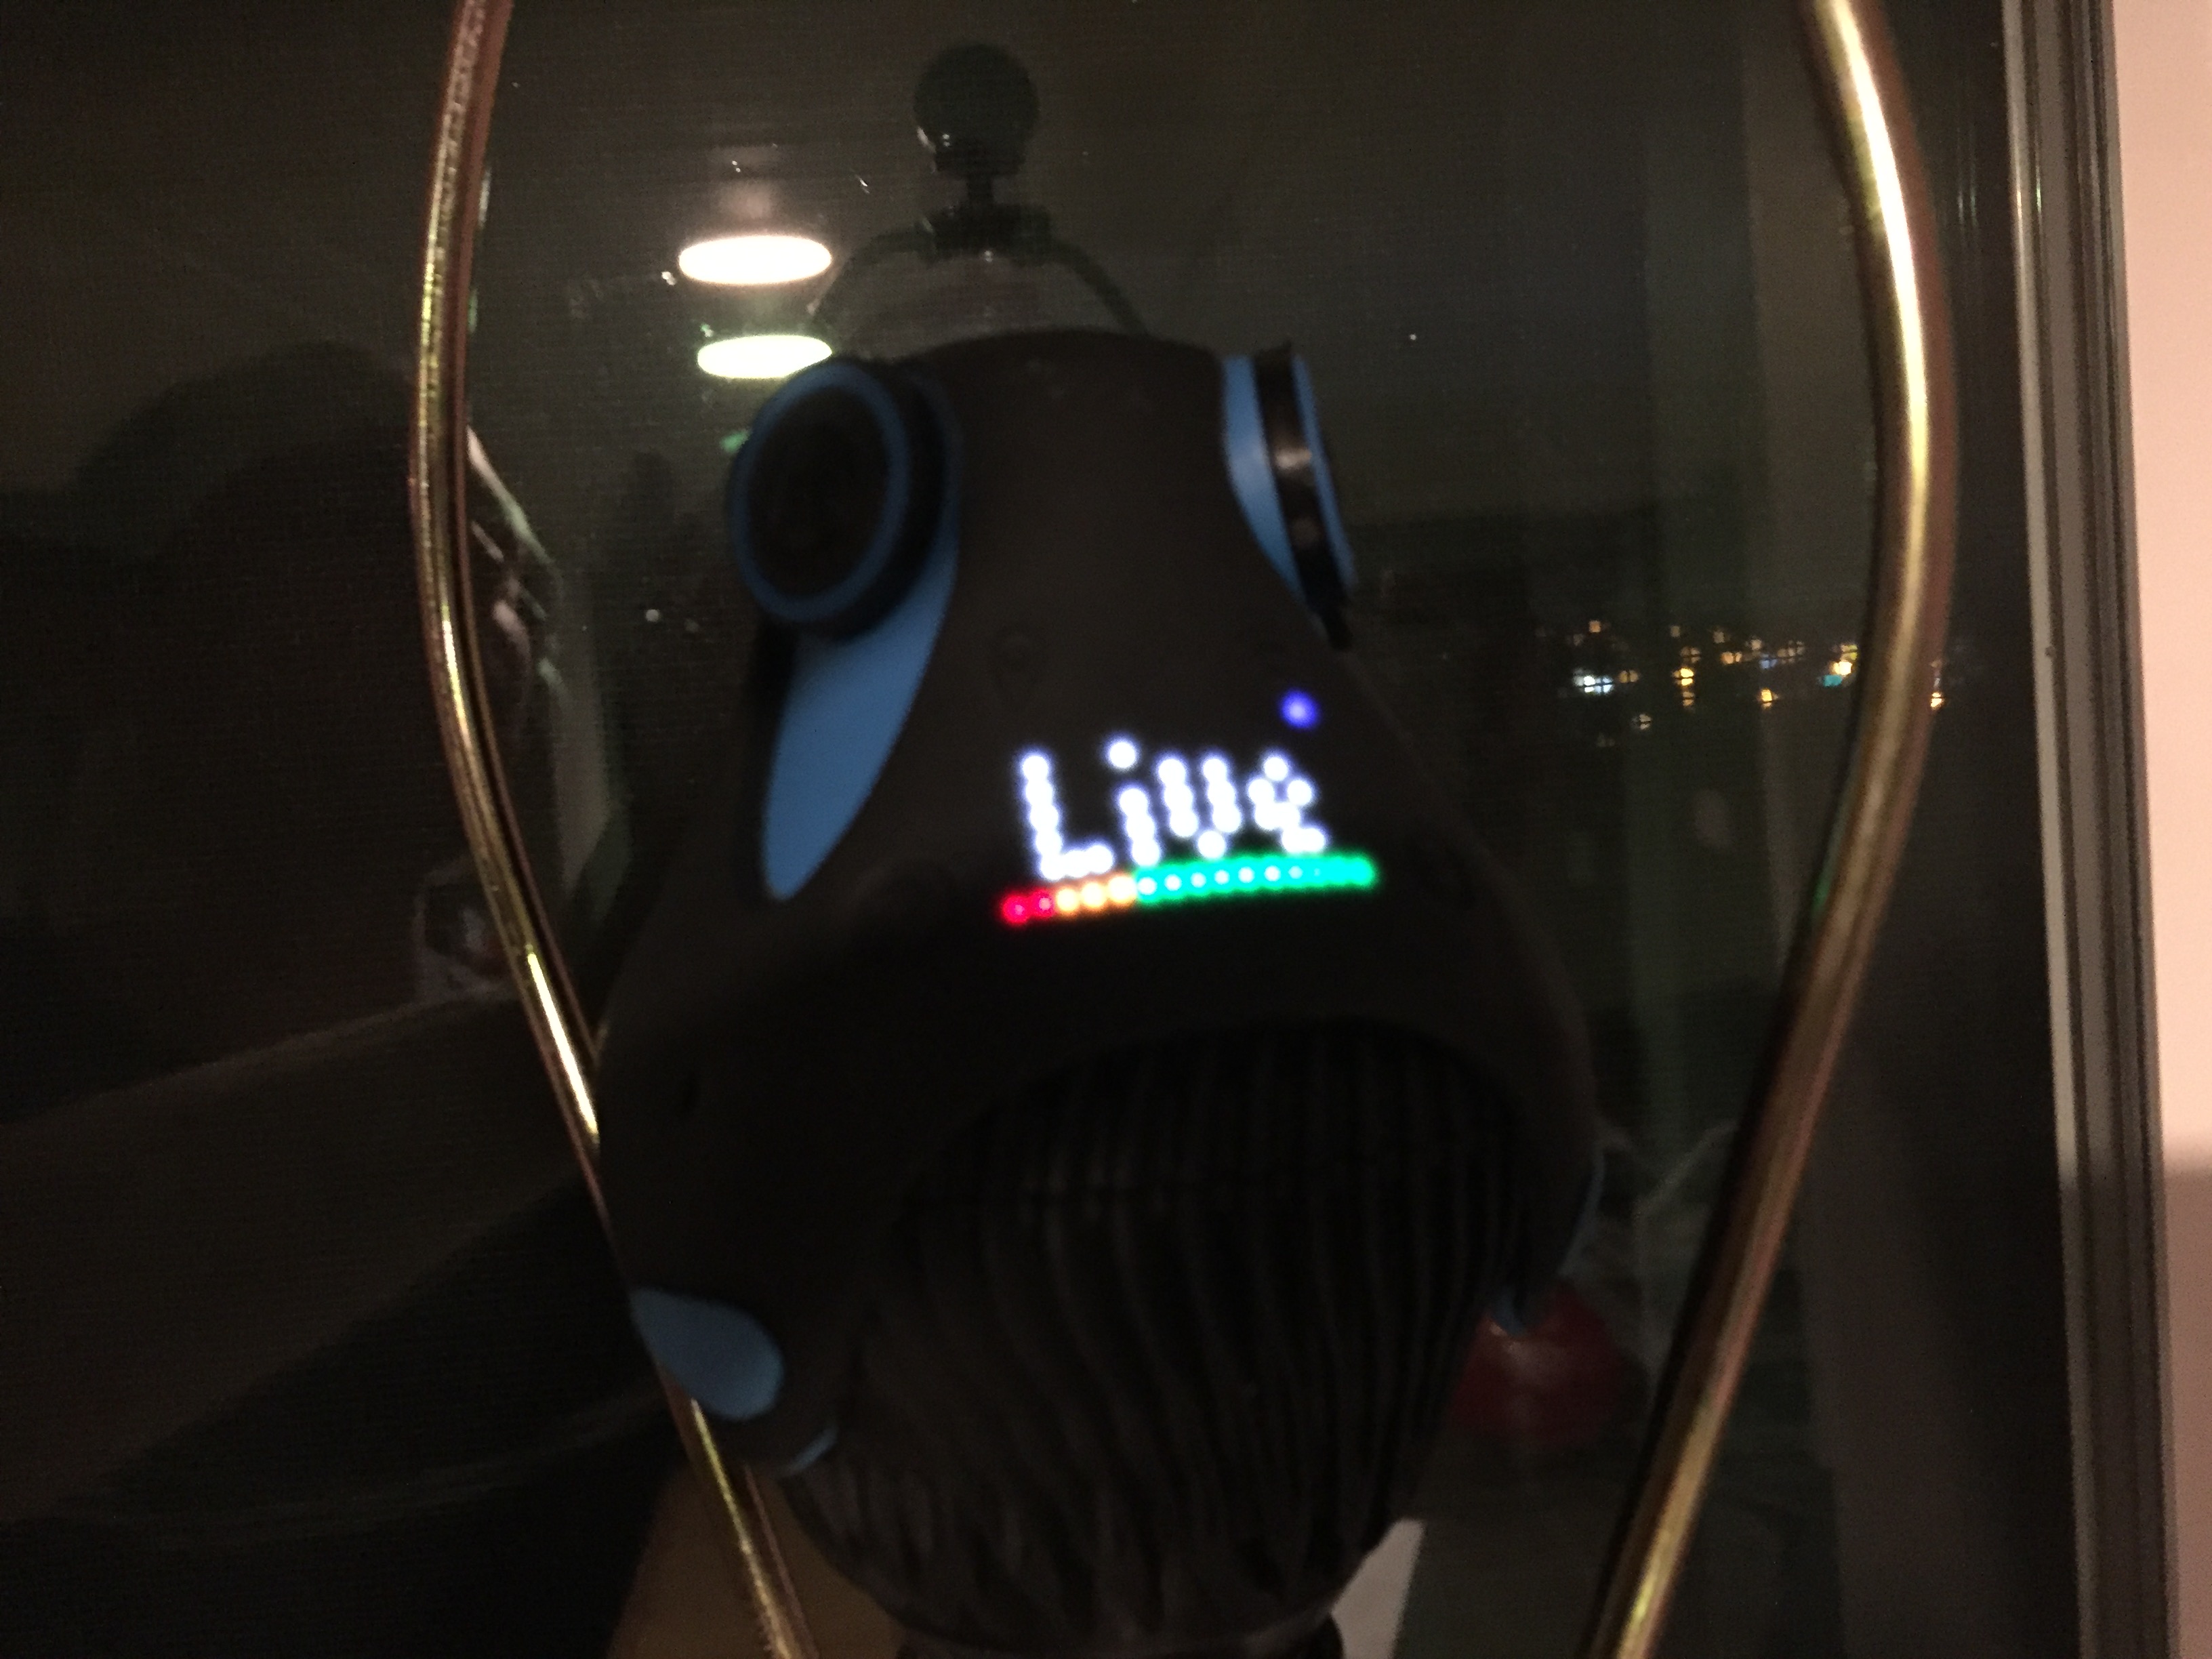
- Plug in the Giroptic Camera into a light socket and let it boot up. You should see “LIVE” appear on the display and the blue WIFI light should be solid indicating it has a good connection.
- Double Check that you can see the Live Stream in the mobile App in LAN.

 The “Cloud” connect should report “Not Available” because it is sending its stream to your server (hopefully!) not the Cloud.

- Once you have confirmed the camera is streaming it is time to make sure it is streaming to your server. Start up nginx. On MacOS X we do this with:
sudo nginx
- It would be useful to have windows up showing your log files. If you open multiple terminal windows you can do this with the tail command. One in each window:
tail -n 100 -f /your/path/nginx/logs/access.log
tail -n 100 -f /your/path/nginx/logs/error.log
tail -n 100 -f /your/path/nginx/logs/host-access.log
Note that in my config file I set the error.log to debug mode so I get the maximum amount of information. It looks like this when nginx starts up:
2016/11/05 17:01:59 [notice] 9492#0: using the "kqueue" event method
2016/11/05 17:01:59 [warn] 9492#0: 1024 worker_connections exceed open file resource limit: 256
2016/11/05 17:01:59 [notice] 9492#0: nginx/1.11.5
2016/11/05 17:01:59 [notice] 9492#0: OS: Darwin 15.6.0
2016/11/05 17:01:59 [notice] 9492#0: hw.ncpu: 8
2016/11/05 17:01:59 [notice] 9492#0: net.inet.tcp.sendspace: 131072
2016/11/05 17:01:59 [notice] 9492#0: kern.ipc.somaxconn: 128
2016/11/05 17:01:59 [notice] 9492#0: getrlimit(RLIMIT_NOFILE): 256:9223372036854775807
2016/11/05 17:01:59 [notice] 9493#0: start worker processes
2016/11/05 17:01:59 [notice] 9493#0: start worker process 9494
2016/11/05 17:02:04 [info] 9494#0: *1 client connected '192.168.1.77'
2016/11/05 17:02:04 [info] 9494#0: *1 connect: app='live' args='' flashver='WIN 15,0,0,239' swf_url='' tc_url='rtmp://192.168.1.###/live' page_url='' acodecs=3575 vcodecs=252 object_encoding=0, client: 192.168.1.##, server: 0.0.0.0:1935
2016/11/05 17:02:04 [info] 9494#0: *1 createStream, client: 192.168.1.##, server: 0.0.0.0:1935
2016/11/05 17:02:04 [info] 9494#0: *1 publish: name='68.1.' args='' type=live silent=0, client: 192.168.1.##, server: 0.0.0.0:1935
2016/11/05 17:02:04 [info] 9494#0: *1 relay: create push name='68.1.' app='live2' playpath='abcd-1efg-hi23-j4kl' url='a.rtmp.youtube.com', client: 192.168.1.##, server: 0.0.0.0:1935
2016/11/05 17:02:04 [info] 9494#0: *2 handshake: digest not found, client: a.rtmp.youtube.com, server: nix-relay
In particular you should notice the NGINX server being connected to by the Giroptic camera. The IP Address for the Giroptic camera will be displayed. Also, NGINX should report a connection to youtube at the bottom of the file. You should see the address you entered from Youtube as well as the play path and a “nix-relay” to indicate it is an intermediate for the Giroptic.
There are sometimes issues with permissions for viewing the logs or for the pid. Make sure those are resolved before you continue. You can stop and restart nginx after making a change with:
sudo nginx -s stop
sudo nginx
- Once nginx is connecting to your stream, you can now go back to Youtube and click Save Changes.
- Now Click “Live Control Room”

- After a few seconds if everything is working the Live Control Window should report a good connection to your stream!
 You’re almost there!
 - Click “Preview”.
- Now if you click the play button in the video window you should see your camera!
- In order to actually go Live just “Start Streaming” and that’s it! You’ve done it!

You might notice Youtube complaining about the stream quality. That is normal (unfortunately) and is due to the configuration of the Giroptic camera. Hopefully we can convince Giroptic to let us boost that quality so that Youtube users can see it to its full potential!
You’re Live!
Here is the stream! Live!

Head on over to your Youtube App on your iPhone or Android. It should move around with you as you view the 360º landscape!
Grab those cool 3D glasses that came with your Giroptic Camera and check it out with the Google Cardboard button!

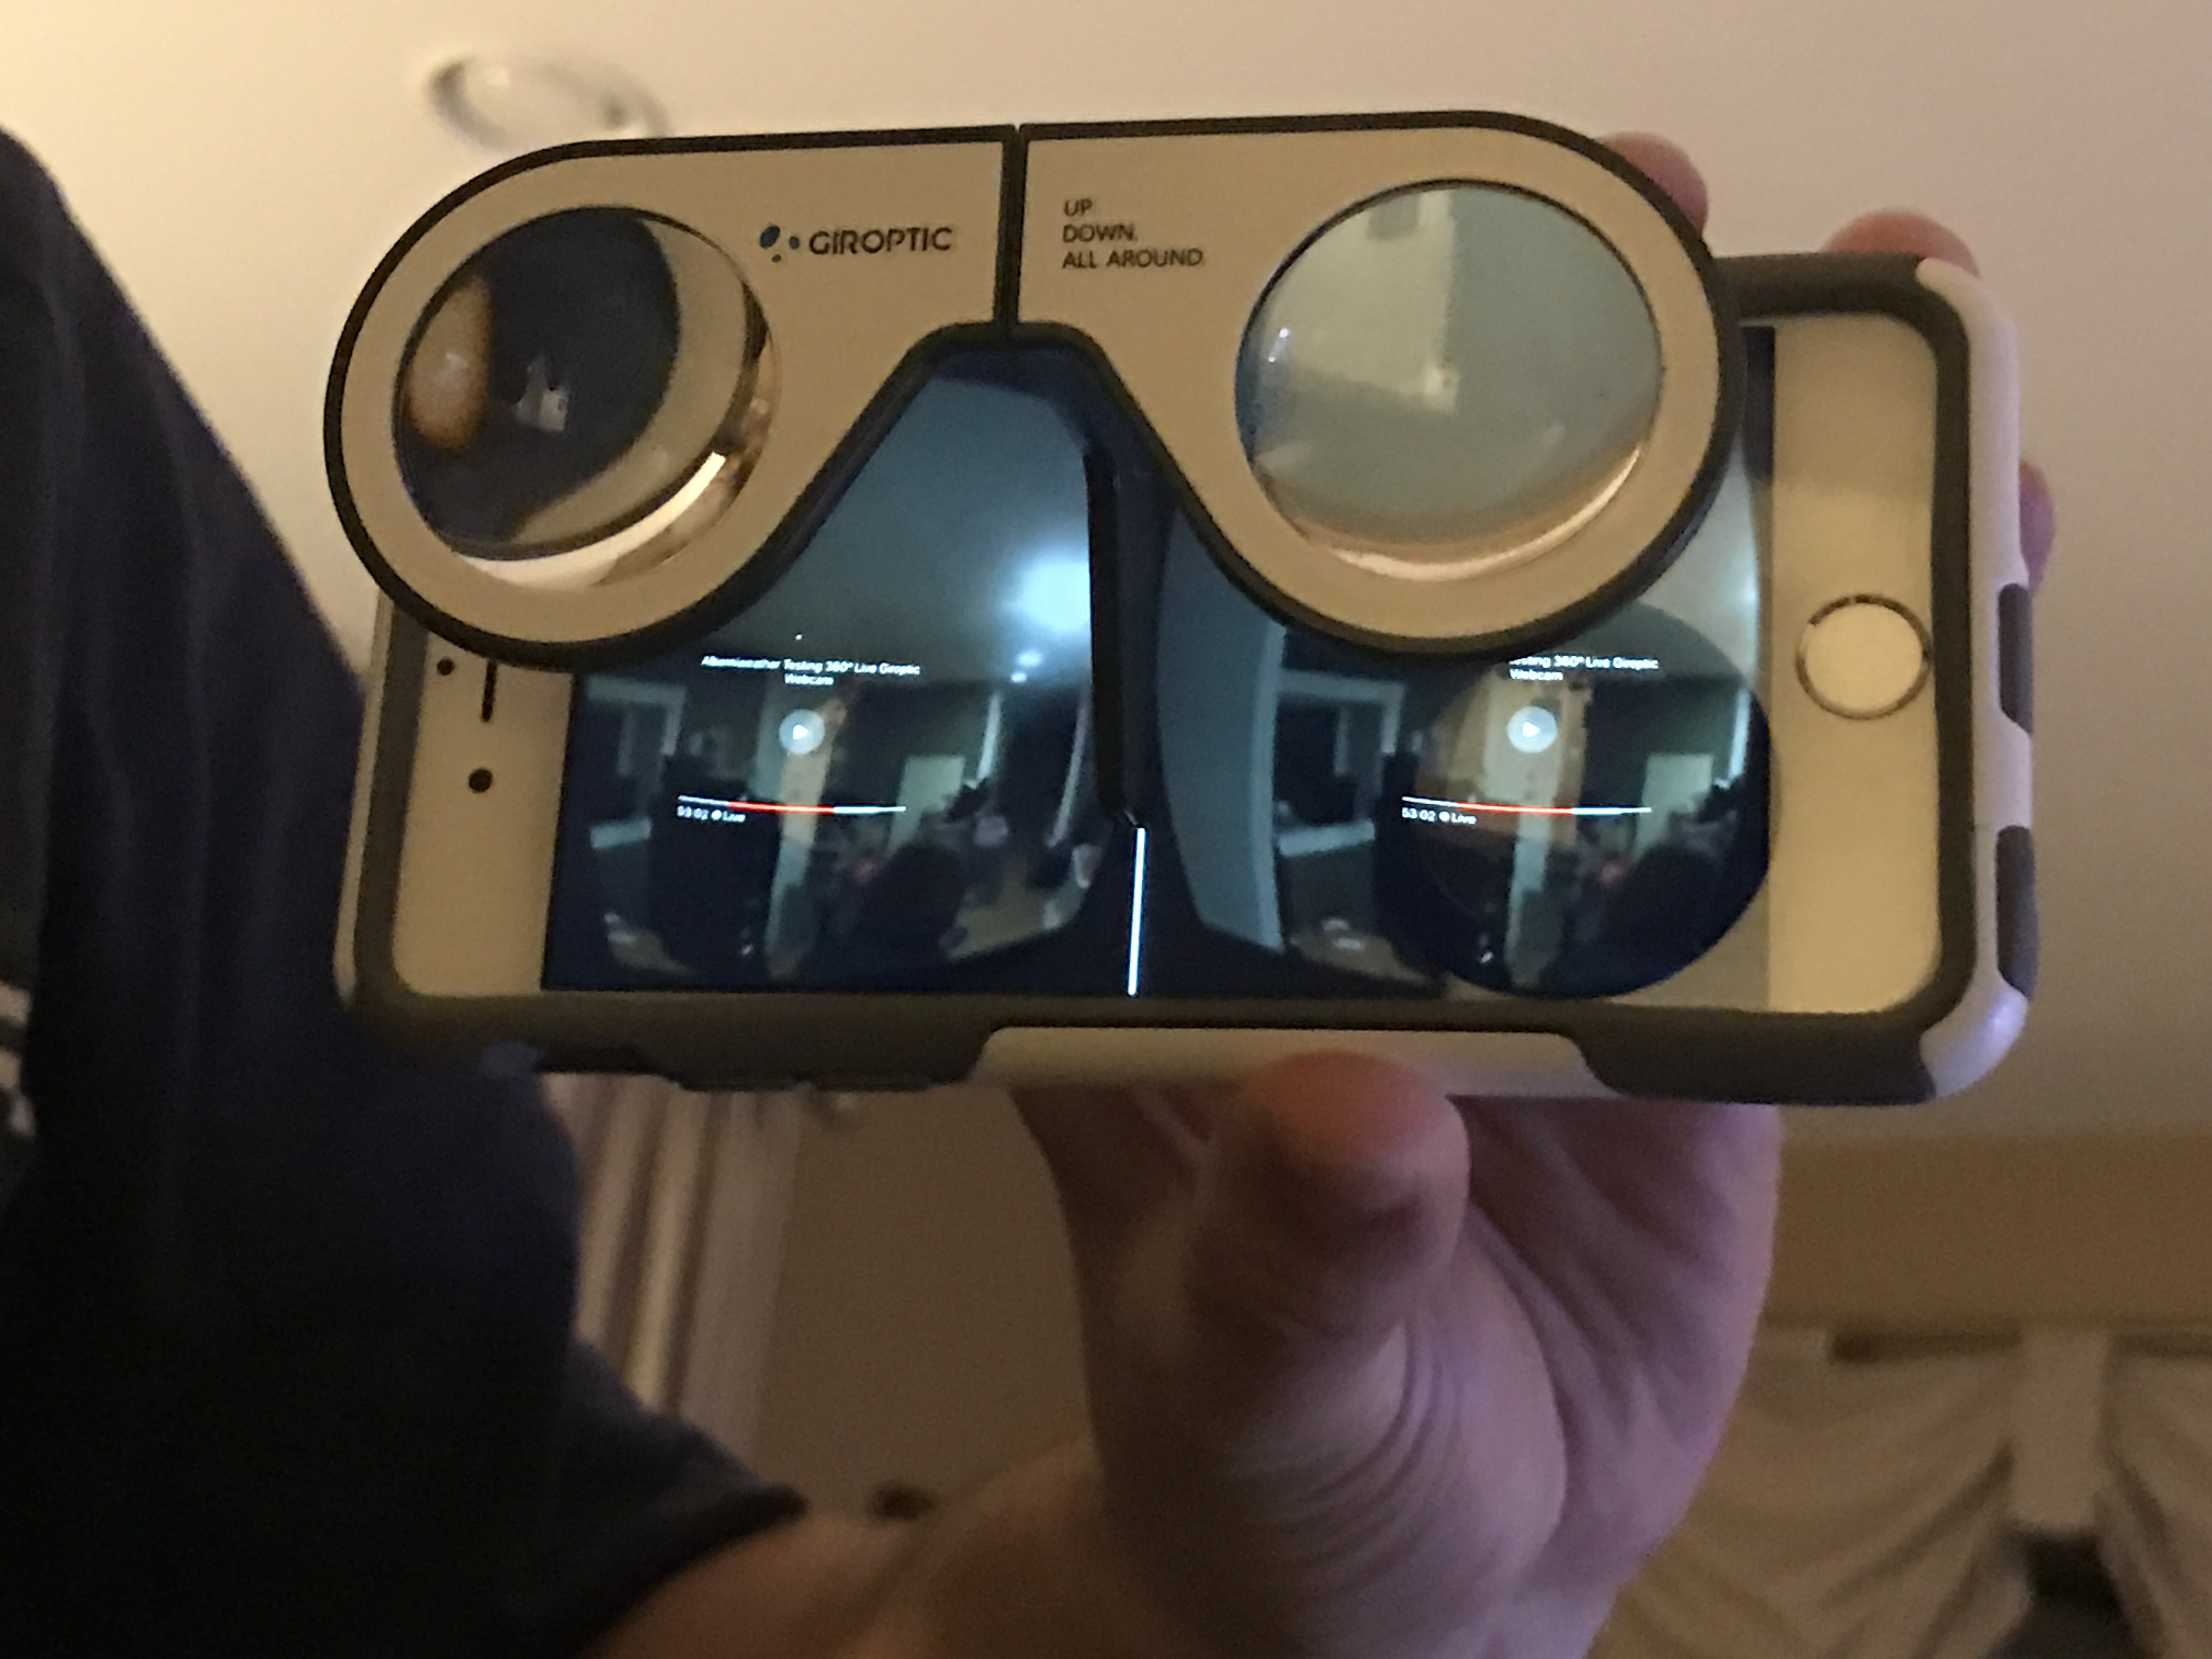
Enjoy!